Building Insurance: What Is It & Do I Need It For My Property?
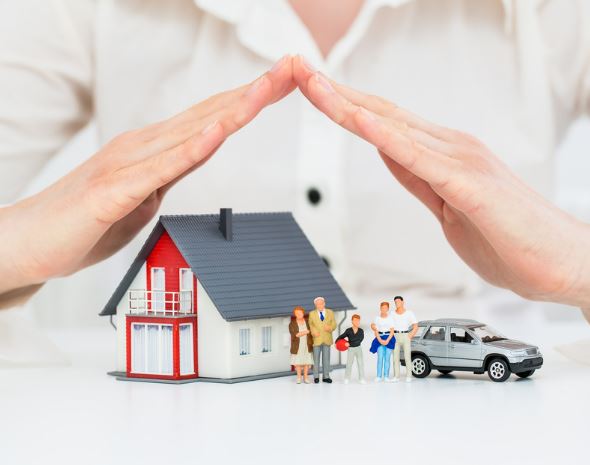
Guest Post by Hubert Dwight Are you in the process of purchasing your dream home? Maybe you’ve just stepped into the enchanting world of homeownership in your warm, cosy abode. Now, you’re pondering on that next important unanswered question of…
Read more
Suspicious House
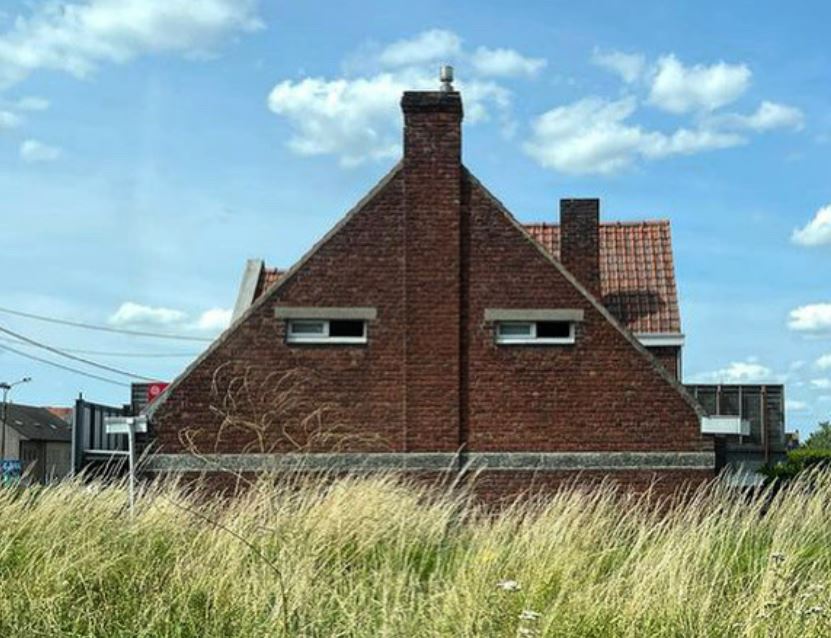
Well is this house suspicious? Or perhaps it doesn’t like you! Another funny photo from one of my favourite sites on the web; Ugly Belgian Houses For more Fails, and Unusual houses go to What the………………….?
Pools Vs. Hot Tubs:
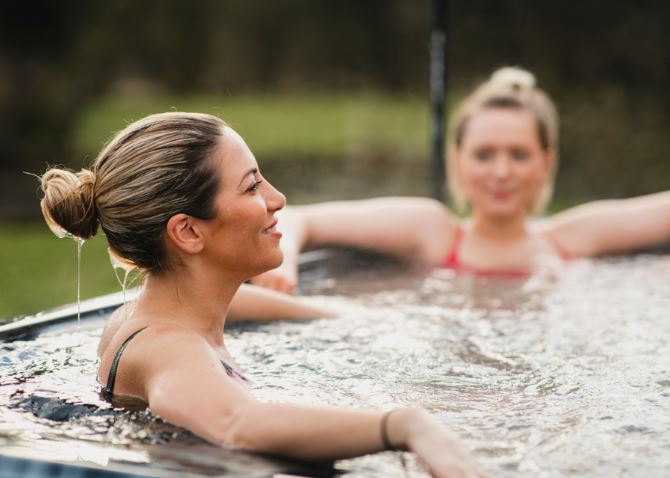
How To Know Which Option’s Right For You Guest post by Hubert Dwight Spending time in your backyard is an excellent way to make the best of your limited leisure time. Whether you’re looking to cook up a storm on…
Read more
Conventional Raft Slab
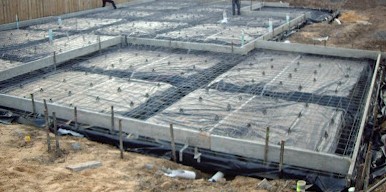
A ‘Conventional’ Raft Slab is a concrete base laid directly on a compacted base. It is strengthened by cutting trenches in the base and adding reinforcement. These ‘thickened beams’ are formed at the edges and also under loadbearing walls. This…
Read more
Seaside Sophistication: A Guide to Hamptons-Style Furniture
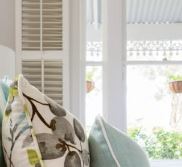
Guest Post by Hubert Dwight Home decorating ideas may come and go but the Hamptons look has been one of the most popular, enduring and sought-after home décor aesthetics for over 300 hundred years. Originating in the US when the…
Read more
Building a Long-Distance Home

Most people wanting to build a new home like to build it close by, but that doesn’t work for everyone. Why build at a long distance? Typical reasons for building long distance, including: Building a ‘Holiday’ home. Building a retirement…
Read more
7 Reasons to Install Flyscreen Doors at Your Home
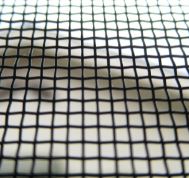
Guest Post by Hubert Dwight For generations, flyscreen doors have been an essential part of numerous homes in Australia. Their simple mechanism effectively prevents those pesky intruders that can cause some serious iritation if they enter your home. However, a…
Read more
Back to Real Grass?
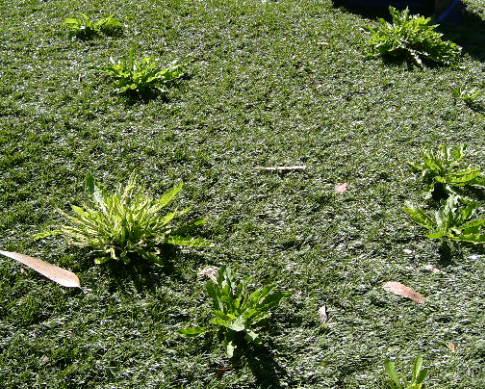
The first artificial turf pitch was laid in Rhode Island in 1964, and started to gain attention when the Houston Astro Dome opened in 1966 with It took another 20 years before an Australian artificial turf sports field was completed…
Read more
Organised Excellence: The Power of Workshop Tool Cabinets
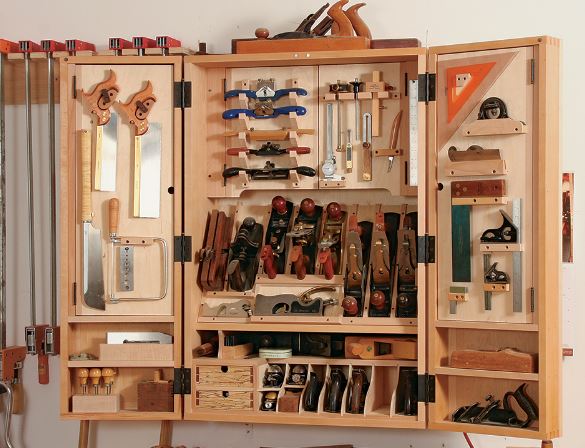
Guest Post by Elisaveta Doncheva In the world of craftsmanship and DIY endeavours, having the right tool for the job is paramount. From wrenches and screwdrivers to power tools and specialty implements, a comprehensive toolkit forms the foundation of productivity…
Read more
Building On Sand
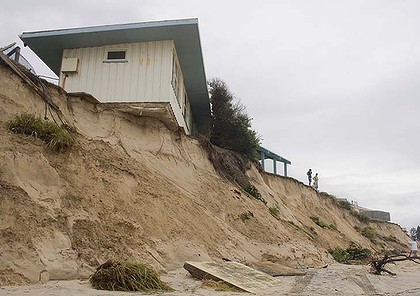
Building on sand at first seems to be an issue…… although I have heard it said that sand is actually the easiest ‘soil to build on. If you live in West Australia there is a good chance that your house…
Read more